 by
by As the cold months approach, many farmers and homeowners grapple with the challenge of keeping their animals, plants, or outdoor spaces warm. Traditional heating solutions can be costly and often not tailored to the specific needs of a farm or home. Fortunately, DIY heater bucket solutions can provide an efficient, customizable alternative. In this article, we will explore the benefits of using heater buckets, the various methods to create them, and the best practices for ensuring safety and efficiency.
What is a Heater Bucket?

A heater bucket is essentially a heated container, often used to keep water from freezing in colder climates, but its applications extend far beyond that. These buckets can be customized to serve various purposes, from warming animal water to providing heat for small plants or outdoor structures. The concept is simple: use a heat source to maintain a consistent, warm temperature within the bucket.
Why Use Heater Buckets?
- Cost-Effectiveness: DIY heater buckets are generally cheaper than commercial heating solutions.
- Energy Efficiency: They can be designed to use minimal electricity, thus reducing utility bills.
- Customizability: You can tailor them to fit your specific needs, whether for pets, livestock, or garden use.
- Portability: Heater buckets can be easily moved to different areas as required.
Materials Required for DIY Heater Buckets
Creating a heater bucket doesn’t require a vast array of materials. Here’s a list of what you’ll need:
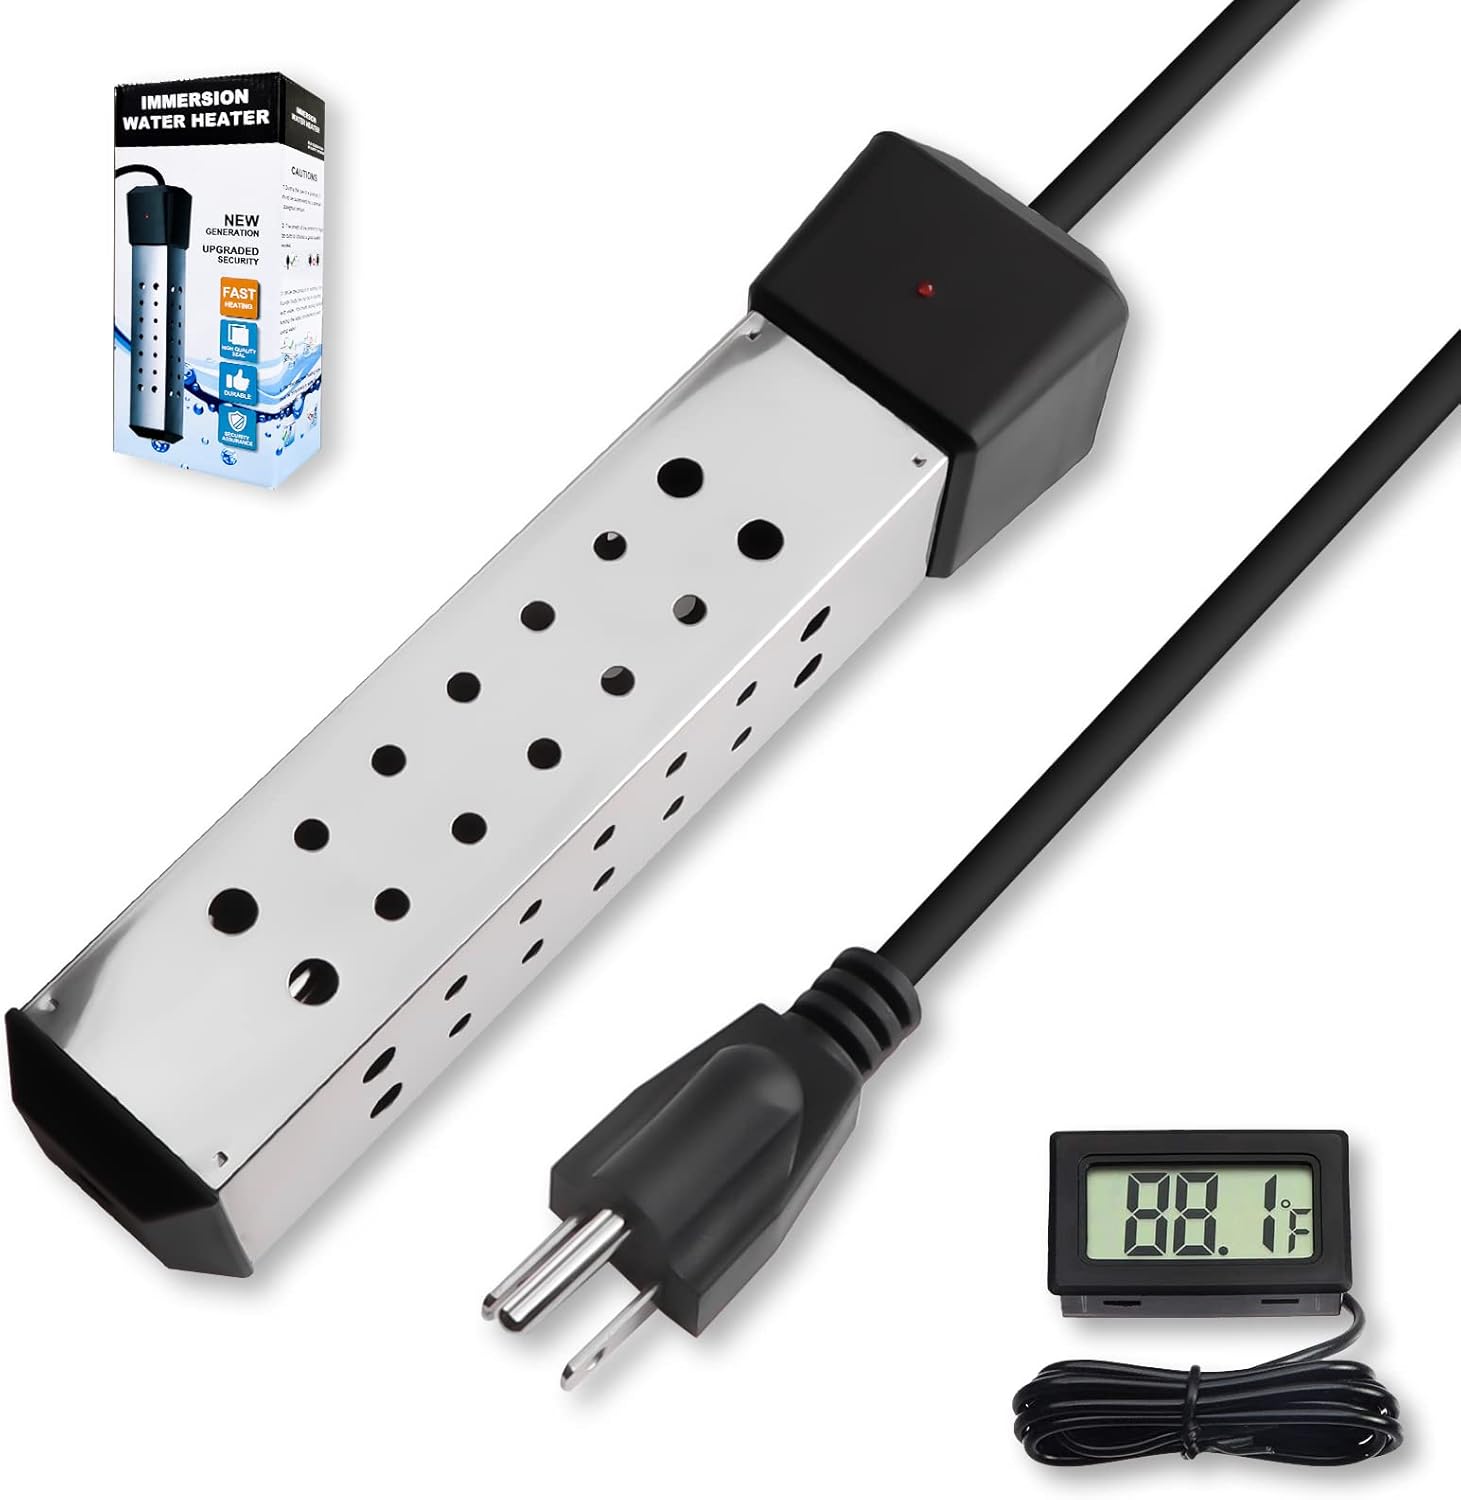
- Plastic or metal bucket
- Submersible aquarium heater or heat tape
- Thermostat (optional but recommended for temperature control)
- Insulating materials (e.g., Styrofoam, fiberglass insulation)
- Electrical extension cord (if necessary)
- Waterproof sealant (for safety)
Step-by-Step Guide to Creating a Heater Bucket
Step 1: Choose Your Bucket

Select a bucket that suits your needs. A standard 5-gallon bucket often works well for most applications. Ensure that it is made of durable material, such as heavy-duty plastic or metal, to withstand outdoor conditions.
Step 2: Install the Heating Element
For heating, a submersible aquarium heater is a popular choice. These heaters are designed to be submerged in water and can efficiently heat up the contents of the bucket. Follow the manufacturer’s instructions for installation:
- Place the heater inside the bucket.
- Secure it in place to prevent it from moving.
- If using heat tape, wrap it around the bucket, ensuring even coverage.
Step 3: Insulate the Bucket
Insulation is critical for maintaining temperature. Wrap the outside of the bucket with insulating material. This will help retain heat and reduce energy consumption. Common insulating materials include:
- Styrofoam sheets
- Fiberglass insulation
- Reflective insulation foil
Step 4: Add a Thermostat (Optional)

For more precise temperature control, consider adding a thermostat. This device will automatically turn the heater on or off to maintain the desired temperature, preventing overheating and saving energy.
Step 5: Seal and Test
Use a waterproof sealant to ensure that all electrical components are safely contained. After sealing, fill the bucket with water and plug in the heater to test functionality. Monitor the temperature to ensure it reaches the desired level.
Applications of Heater Buckets
Heater buckets can be utilized in various scenarios around the home or farm:
- Livestock Watering: Prevent water from freezing for livestock, ensuring they have access to fresh drinking water in winter.
- Plant Heating: Use with seedlings or potted plants to provide warmth during colder nights.
- Pet Comfort: Provide warmth for outdoor pets, such as dogs or cats, during harsh weather.
- Outdoor Structures: Use them in greenhouses, sheds, or barns to maintain a warm environment.
Case Studies: Success Stories
Several farmers and homeowners have successfully implemented DIY heater buckets in their operations, demonstrating their effectiveness:
Case Study 1: Small-Scale Farmer

A small-scale farmer in Minnesota faced challenges with their chicken coop during the winter months. They implemented DIY heater buckets using submersible heaters and insulation. As a result, the water remained unfrozen, leading to healthier chickens and increased egg production throughout winter.
Case Study 2: Urban Gardener

An urban gardener in Pennsylvania utilized heater buckets to keep her potted plants warm during frost warnings. By using a thermostat and insulating the buckets, she successfully extended her growing season and increased her yield.
Safety Precautions for Using Heater Buckets
While DIY heater buckets can be highly effective, safety should always be a priority:
- Ensure all electrical components are waterproof to prevent short circuits.
- Use outdoor-rated extension cords if the setup is outside.
- Monitor the bucket regularly to avoid overheating.
- Check for frayed wires or damaged components before each use.
DIY heater buckets provide a practical and cost-effective solution for keeping water from freezing and maintaining warmth in various settings on a farm or home. By customizing these buckets to meet specific needs, users can ensure optimal performance and efficiency. With the right materials, careful planning, and safety measures, you can create a reliable heating solution that will serve you well through the chilly months. From livestock care to plant protection, the applications are vast, making heater buckets a smart addition to your winter toolkit.
By adopting these DIY solutions, not only do you save on energy costs, but you also gain the satisfaction of creating something functional and tailored to your specific needs. Whether you are a farmer, gardener, or just someone looking to keep their pets comfortable, a heater bucket may just be the perfect solution.


